Ultimate Video Editing Hacks in 2024:Create, Edit, Inspire
Introduction
Video editing has become an essential skill in our visually driven world. Whether you’re a content creator, a marketer, or someone trying to make family videos more memorable, video editing hacks transforms raw footage into polished, impactful stories.
But let’s be real: editing isn’t always straightforward. From picking the right software to mastering transitions, the learning curve can feel steep. That’s where this guide comes in!
Here, you’ll uncover practical hacks to simplify the editing process, improve your efficiency, and spark your creative side. So, grab your coffee, fire up your editing software, and let’s dive into the ultimate video editing hacks!
Understanding Video Editing Basics
Video editing is the process of manipulating and rearranging video shots to create a final product. It involves trimming, cutting, adding effects, and syncing audio to visuals to convey a story or message effectively.
Key Components of Video Editing
- Trimming and Cutting: Removing unwanted portions of footage.
- Transitions: Seamless switching between scenes.
- Effects: Adding flair, like slow motion or filters.
Essential Tools for Beginners
- Editing Software: Options like iMovie, DaVinci Resolve, and Adobe Premiere Pro.
- Hardware: A good computer with a powerful CPU and GPU for rendering.
- Storage: SSDs for faster data access and external drives for backups.
Professional editors often blend storytelling with technical expertise, while amateurs can start small by practicing with basic editing tools. The goal? Create a visually engaging product, no matter your skill level.
Choosing the Right Video Editing Software
Choosing the right software is like picking the perfect tool for a craft. It makes all the difference. With numerous options available, finding one that matches your skill level and project needs is crucial.
Free vs. Paid Software:
- Free Tools: Great for beginners, options like Shotcut and DaVinci Resolve offer powerful features without the price tag.
- Paid Tools: Software like Final Cut Pro or Adobe Premiere Pro provides advanced functionalities but comes with a steep learning curve (and cost).
Features to Look For:
- Intuitive interface
- Advanced editing features (keyframing, color grading)
- Compatibility with your operating system
Start with free tools to learn the basics, then transition to paid options as your skills grow.
Setting Up Your Workspace for Maximum Productivity
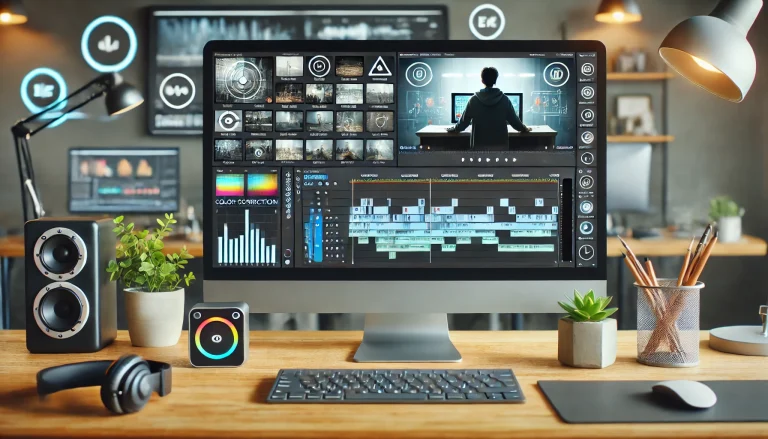
Your workspace can make or break your editing flow. An organized and efficient setup saves time and keeps you focused.
Hardware Essentials:
- Monitor A high-resolution monitor for accurate color grading.
- Keyboard and Mouse: Programmable options for shortcuts.
- Comfortable Chair: Editing often involves long hours, so invest in ergonomic seating.
Ergonomic Tips:
- Position your monitor at eye level to reduce strain.
- Take regular breaks to avoid fatigue.
- Use blue-light-blocking glasses for prolonged screen time.
With the right setup, editing becomes a breeze instead of a chore.
Importing and Organizing Your Footage
Editing begins with importing your media, and a well-organized library is key to efficiency.
Best Practices for Importing Media:
- Use a folder hierarchy to separate raw footage, audio, and assets.
- Label files descriptively (e.g., “Beach Sunset_Take1”).
Pro Tip
Tagging clips with keywords can help you find specific shots quickly, saving hours in the long run.
Mastering the Timeline
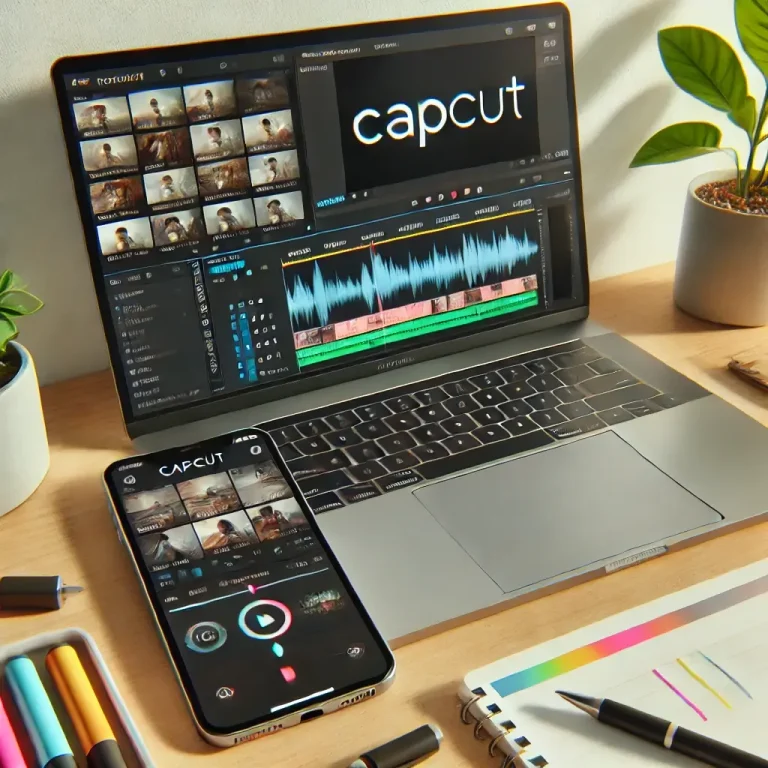
The timeline is the heart of video editingit’s where all the magic happens.
Key Features of the Timeline
- Tracks for video, audio, and effects.
- Drag-and-drop functionality for arranging clips.
Editing Tips
- Use shortcuts like “Ctrl + K” to cut clips quickly.
- Zoom in on the timeline for precise edits.
The more comfortable you are with the timeline, the smoother your workflow becomes.
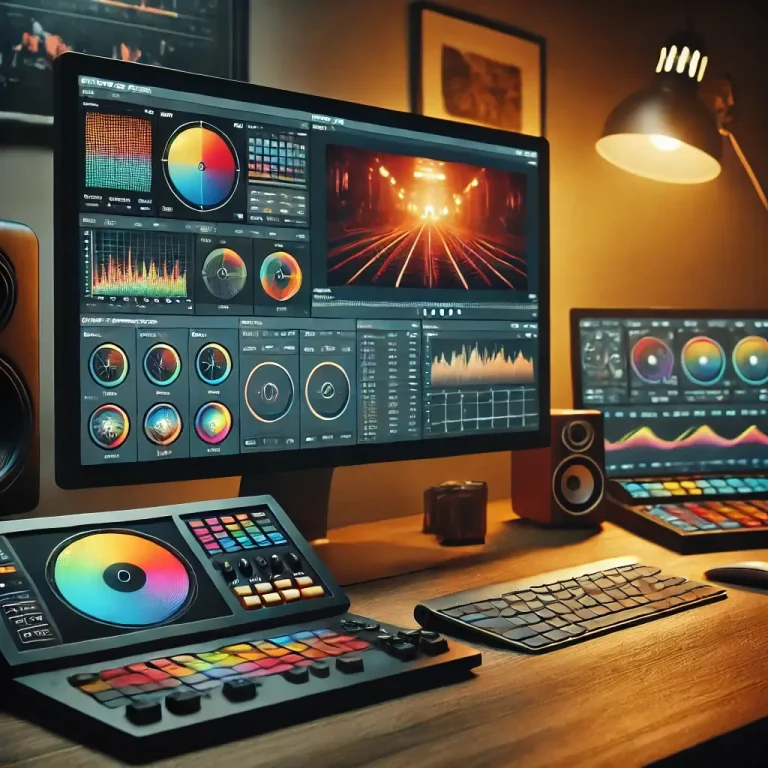
Color Correction and Grading Tips
Color correction and grading are what transform ordinary footage into a visual masterpiece. While these terms are often used interchangeably, they serve distinct purposes.
What’s the Difference?
- Color Correction: Adjusting colors to match reality (e.g., fixing exposure or white balance).
- Color Grading: Adding stylistic color tones to evoke emotions or set a mood.
How to Achieve Perfect Color Correction
- Calibrate Your Monitor: Ensure your screen displays accurate colors.
- Use Scopes: Tools like waveform and vector scopes help maintain color consistency.
- Adjust White Balance First: This sets the tone for further tweaks.
Popular Color Grading Styles
- Cinematic Looks: Deep shadows, cool tones.
- Vintage Aesthetics: Faded colors with warm highlights.
- Vibrant Palettes: Enhanced saturation for bold visuals.
Most video editing software includes built-in tools for color correction and grading, but plugins like Color Finale or Magic Bullet Suite can take your edits to the next level.
Adding Transitions and Effects
Transitions and effects are the glue that holds your video together. They ensure smooth scene changes and add visual interest when used strategically.
Effective Use of Transitions
- Standard Cuts: Use simple cuts to maintain a natural flow.
- Crossfades: Perfect for blending two clips subtly.
- Wipes and Slides: Great for playful or thematic videos.
Avoiding Overuse
Too many transitions or flashy effects can make your video feel amateurish. Instead, use them sparingly to enhance storytelling.
Popular Effects to Experiment With:
- Slow Motion: Adds drama to key moments.
- Lens Flare: Creates a cinematic vibe.
- Motion Blur: Makes transitions feel smoother.
The trick is to balance creativity with purpose—every effect should serve your narrative.
The Power of Audio in Video Editing
Imagine watching a video with poor audio—it’s an instant turnoff, right? Great audio is just as important as stunning visuals, and syncing the two effectively is the hallmark of a professional edit.
Why Sound Matters
- Enhances emotional impact (think dramatic music in a movie trailer).
- Improves storytelling by emphasizing key moments.
- Engages viewers and holds their attention.
Tips for Syncing Audio and Video
- Use a clapboard or a hand clap during filming to align waveforms.
- Adjust audio levels to ensure dialogue isn’t drowned out by background music.
- Use crossfades to smooth out abrupt changes in sound.
Tools for Cleaning Up Audio:
- Noise Reduction Plugins: Remove unwanted background noise.
- EQ Adjustments: Fine-tune frequencies for a clear and balanced sound.
- Reverb Effects: Add depth and richness to your audio.
Good audio can elevate an average video into something truly impactful.
Leveraging Text and Titles
Text and titles are more than just captions—they’re an integral part of your video’s visual language. From opening credits to on-screen callouts, they guide your audience and emphasize key points.
Designing Compelling Title Sequences
- Choose fonts that align with your video’s theme (e.g., sleek and modern for tech videos).
- Keep text readable with high contrast and simple animations.
- Use motion graphics to make titles more engaging.
Adding Subtitles and Captions
- Accessibility: Subtitles make your content inclusive for viewers with hearing impairments.
- SEO Benefits: Captions improve searchability, especially on platforms like YouTube.
- Many editing tools, like Premiere Pro and Final Cut, offer automated captioning features.
Plugins for Advanced Typography
- Motion Array: Pre-designed templates for creative text animations.
- Typito: Drag-and-drop text overlays for beginners.
Experiment with text placement, colors, and animations to make your videos pop.
Optimizing Your Workflow
Efficiency is the secret weapon of successful video editors. Optimizing your workflow can help you tackle projects faster while maintaining quality.
Keyboard Shortcuts
- Learn shortcuts for your editing software (e.g., “B” for the razor tool in Premiere Pro).
- Customize shortcut keys to match your editing habits.
Automation Features
- Presets: Save color grading or effect settings to reuse later.
- Templates: Use pre-made templates for intros, lower thirds, and transitions.
Batch Processing
- When dealing with repetitive tasks, like exporting multiple clips, batch processing can save hours.
Organized Asset Management:
Keep all project files, from footage to audio, in clearly labeled folders. A well-organized project reduces stress and saves time during revisions.
Exporting Like a Pro
After hours of editing, exporting your video with the correct settings is the final, crucial step. Poor export settings can ruin all your hard work, so it’s essential to get it right.
Choosing the Right Export Settings:
- Resolution: Match your video’s resolution to the intended platform. Common choices include:
- 1080p (Full HD): Great for YouTube and general online content.
- 4K (Ultra HD): Ideal for cinematic quality and professional projects.
- Frame Rate: Use the same frame rate you edited with (e.g., 24 fps for cinematic style).
- Bitrate: Higher bitrates improve quality but increase file size.
Formats to Consider
- MP4 (H.264): A versatile and widely compatible format.
- MOV: Common for professional workflows and higher-quality projects.
- WebM: Best for web-based applications.
Tips to Maintain Quality
- Avoid excessive compression.
- Use the “two-pass encoding” feature for better optimization.
- Preview your video before the final export to catch any errors.
Mastering export settings ensures your videos look polished and professional across all platforms.
Social Media Optimization for Videos
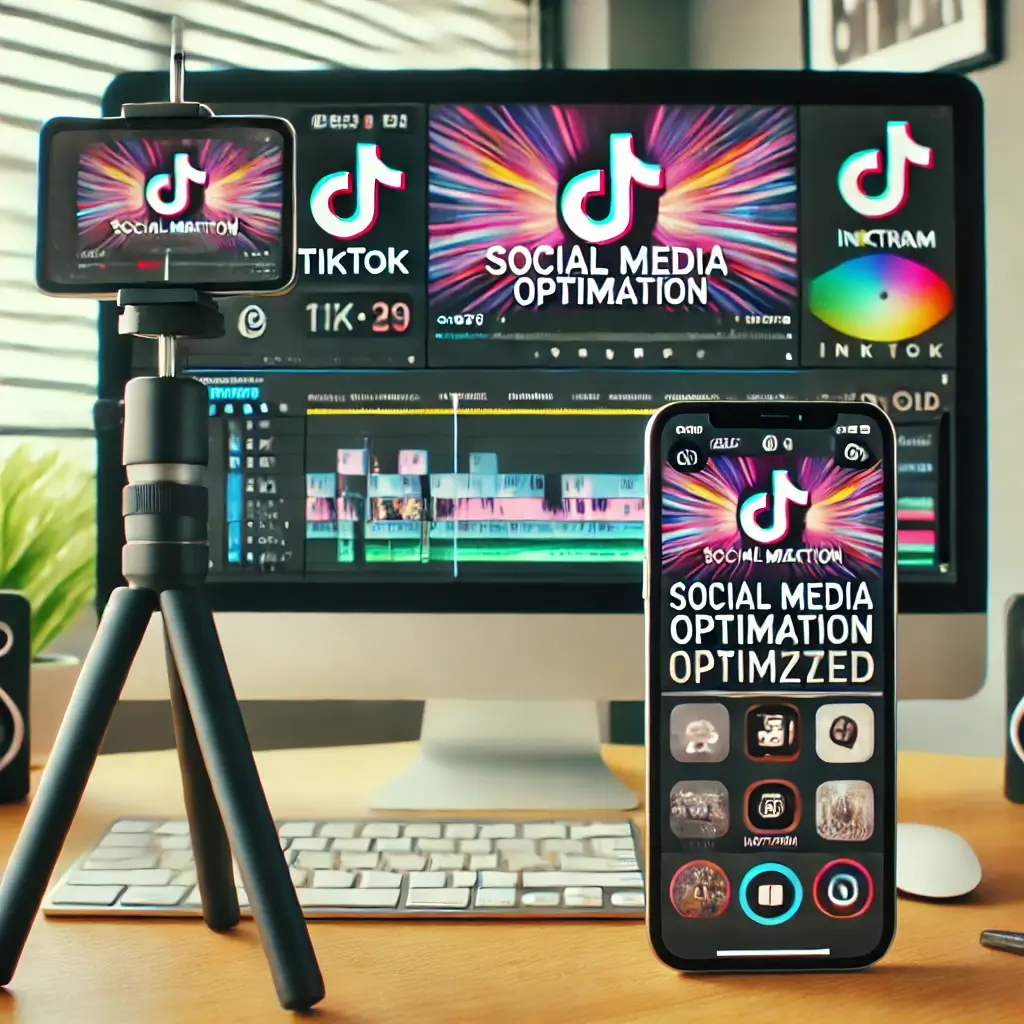
Social media is a visual playground, and optimizing your videos for each platform is vital to stand out.
Platform-Specific Hacks
- Instagram: Use a 1:1 (square) or 9:16 (vertical) aspect ratio for better engagement.
- YouTube: Stick to 16:9 widescreen and add eye-catching thumbnails.
- TikTok: Focus on vertical videos with bold text overlays for short, snappy content.
Understanding Aspect Ratios
- Always consider how your video will be displayed on mobile versus desktop.
- Tools like Canva and Adobe Premiere Pro allow you to adjust aspect ratios seamlessly.
Creating Engaging Thumbnails
Use bold, readable text.
- Add high-contrast colors to draw attention.
- Include a clear call-to-action, like “Watch Now!”
Optimized videos perform better and ensure your content resonates with your target audience.
Creative Storytelling in Video Editing
Editing isn’t just about cutting footage—it’s about telling a story. A well-edited video can evoke emotions, build suspense, or even inspire action.
Techniques for Storytelling
- Match Cuts: Align two scenes with similar shapes or movements for seamless transitions.
- Pacing: Use quick cuts for action scenes and slower edits for emotional moments.
- Montages: Compress time by showing a series of related clips, like a character training for a marathon.
The Emotional Impact of Music
Music can amplify a scene’s tone.
- Use royalty-free tracks from platforms like Epidemic Sound or Artlist.
- Sync beats to transitions for added impact.
The best videos aren’t just watched—they’re felt. Strong storytelling ensures your content leaves a lasting impression.
Common Video Editing Mistakes to Avoid
Even seasoned editors can make mistakes. Avoiding these pitfalls ensures your videos look polished and professional.
Over-editing or Under-editing
- Over-editing can make videos look unnatural.
- Under-editing leaves content feeling unpolished.
Ignoring Aspect Ratios and Resolutions
- Always tailor your video to the platform’s requirements. For example, a 16:9 video won’t fit well on TikTok.
- Neglecting Audio:
- Bad sound quality is a common issue. Always prioritize audio clarity.
- Skipping Revisions:
- Watching your video multiple times can help spot issues like abrupt cuts or mismatched audio.
Pro Tip
Collaborate with others for feedback. Fresh eyes can catch mistakes you might miss!
Tips for Staying Inspired
- Even the best editors can hit creative blocks. Staying inspired is essential to keep your work fresh and exciting.
Follow Trends
- Keep an eye on social media for popular editing styles.
- Watch tutorials on platforms like YouTube to learn new techniques.
Learn from Professionals
- Analyze edits in movies or commercials.
- Break down how professional editors use pacing, color, and sound.
Experiment with New Techniques
- Try new plugins or explore advanced software features.
- Create a passion project to test out unconventional ideas.
By staying curious and embracing challenges, you’ll continuously grow as an editor.
Conclusion
Video editing is both an art and a science, blending technical skills with boundless creativity. With the hacks and tips shared in this guide, you’re equipped to tackle any editing project with confidence. Whether you’re crafting content for social media, a professional portfolio, or personal memories, the key is to keep practicing, experimenting, and learning.
So go ahead—start editing, create inspiring stories, and let your creativity shine!
FAQs
What is the easiest video editing software for beginners?
Beginners often find iMovie (Mac) or Shotcut (Windows) user-friendly and effective for basic projects.
How do I make my videos look more professional?
Focus on lighting during filming, use smooth transitions and master color correction.
What hardware do I need for video editing?
A fast computer with a powerful GPU, plenty of RAM (at least 16GB), and an SSD for storage are essential.
How can I improve my color grading skills?
Practice using tools like Lumetri Color in Premiere Pro or Davinci Resolve. Study color theory and analyze professional edits.
What is the best format for exporting videos?
MP4 (H.264) is the most versatile format, balancing quality and file size for most platforms.

