CapCut Keyframes Tutorial: Zoom and Animate Like a Pro
There’s a moment in every good edit where the camera seems to know exactly what you’re feeling — pushing in slowly as the beat drops, drifting across a landscape, or snapping to a face at the punchline. In CapCut, almost all of that is done with one tool: keyframes.
If you’ve been wondering how to use keyframes in CapCut, here’s the short version: a keyframe pins a value (like zoom level or position) to a specific moment in your clip, and CapCut animates everything in between. Two keyframes are all it takes to make a dead-still photo feel cinematic.
This tutorial covers keyframes on mobile and PC, the five moves you’ll use constantly, and how to keep the motion buttery instead of janky. No experience needed — if you can pinch to zoom, you can do this.
What Are Keyframes, Exactly?
Imagine you’re directing a tiny cameraman who lives inside CapCut. You can’t tell him “move smoothly” — you can only give him exact orders at exact moments: “at second one, the frame looks like THIS” and “at second three, it looks like THAT.” Keyframes are those orders. Each keyframe pins a property — zoom level, position, rotation, or opacity — to a specific point on your timeline, and CapCut animates the journey between them automatically.
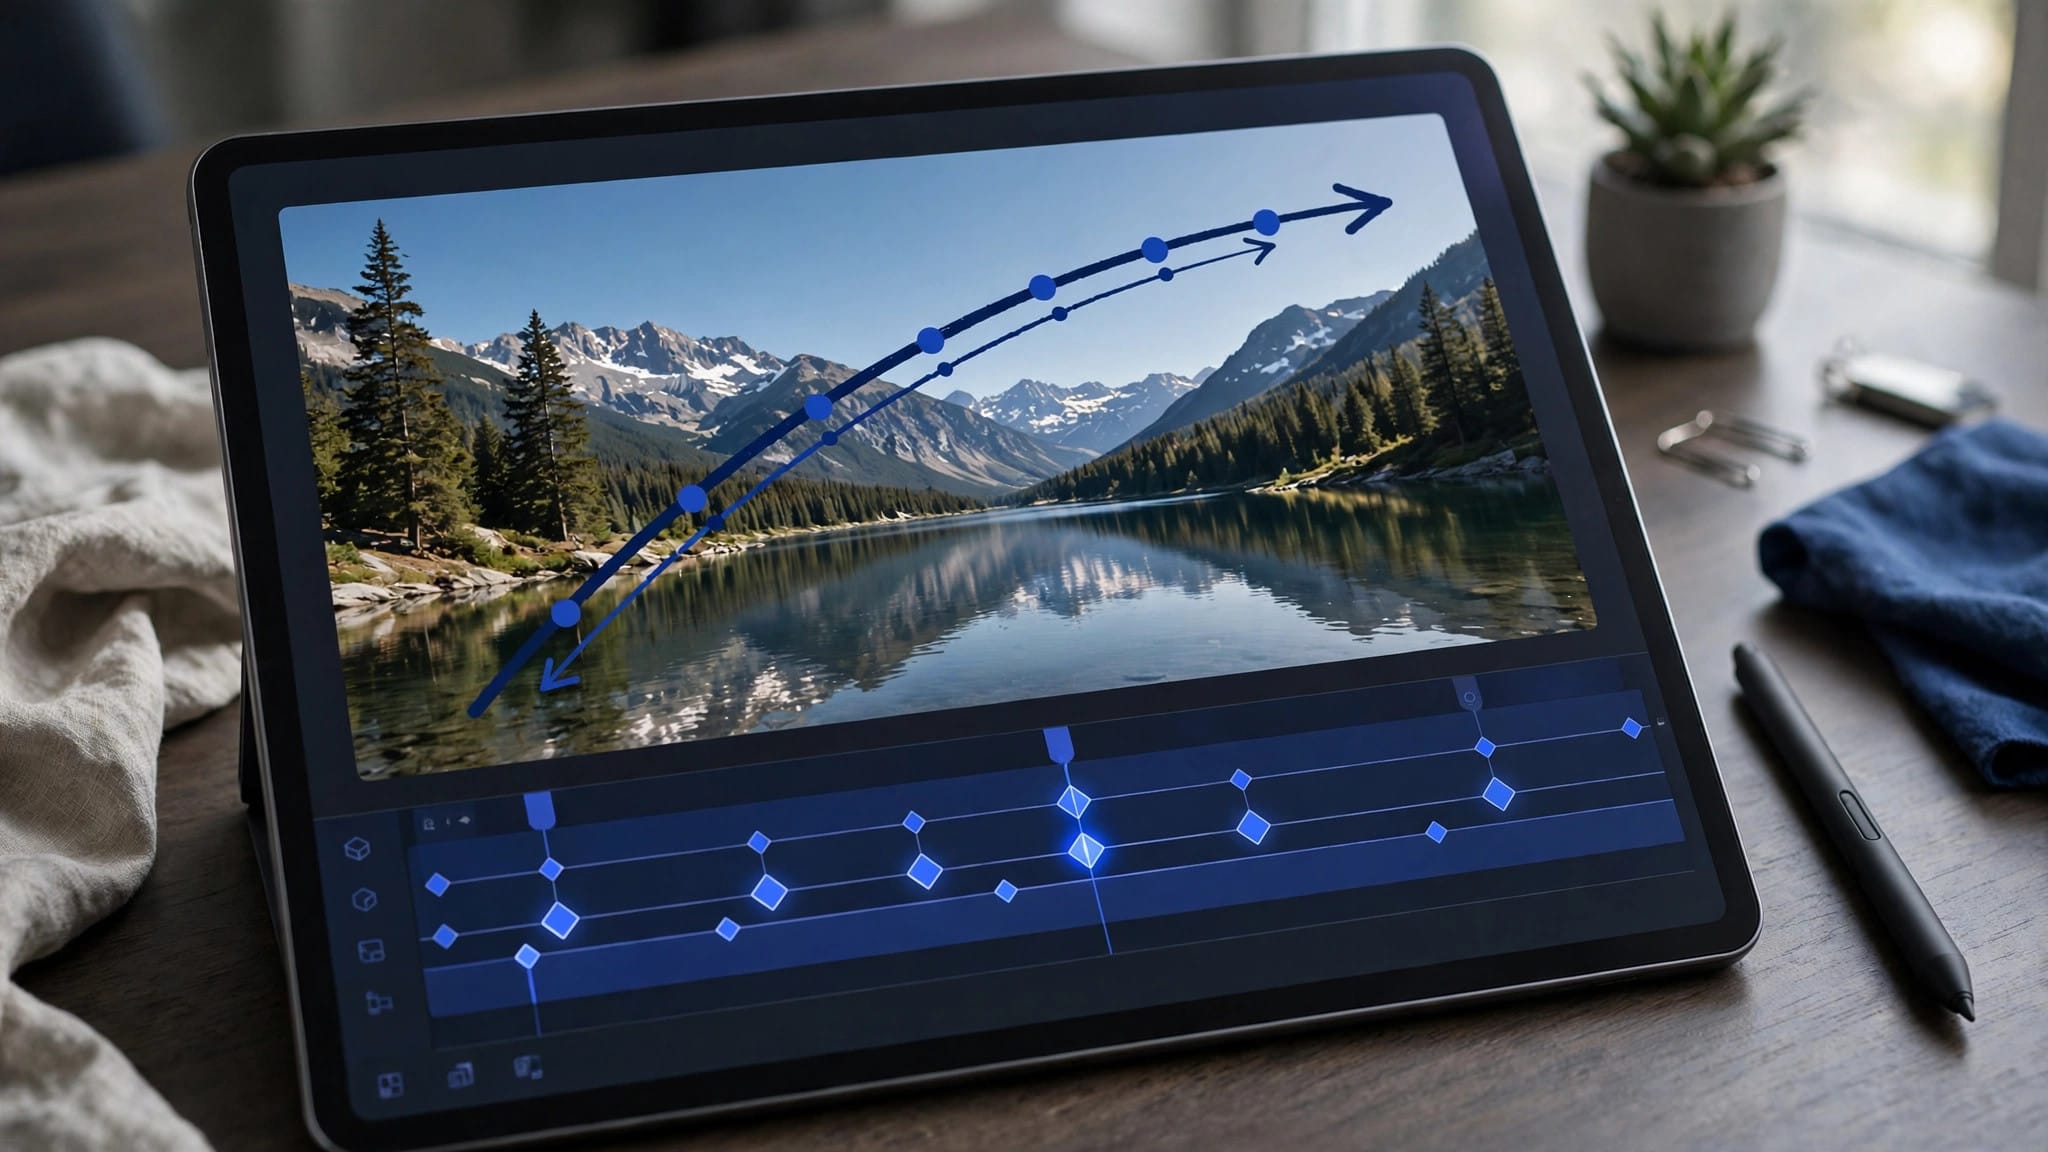
In the CapCut interface, keyframes look like small diamond icons. You’ll find the keyframe button in the toolbar whenever a clip, text layer, or sticker is selected. Tap it once and a diamond appears on the timeline at the playhead: that’s keyframe number one. Change something — pinch to zoom, drag the frame sideways, rotate it — and CapCut quietly drops keyframe number two. Press play, and your clip glides from the first state to the second.
The beautiful part is how little you need. Two keyframes can turn a static photo into a slow cinematic push-in. Four or five can choreograph text dancing across the screen. Everything in this tutorial builds on that one idea: pin the start, pin the end, let CapCut handle the middle.
How to Use Keyframes in CapCut on Mobile
Here’s the exact workflow, step by step:
1. Select your clip. Add a video or photo to the timeline and tap it so it’s highlighted. Keyframes always apply to whatever is currently selected — this is the step beginners skip, then wonder why nothing happens.
2. Move the playhead to your start point. Drag the white playhead line to the exact frame where the animation should begin.
3. Tap the diamond icon. In the bottom toolbar you’ll see a diamond-shaped keyframe button. Tap it once. A small diamond marker appears — your first keyframe is pinned with the clip’s current zoom, position, and rotation.
4. Move the playhead to your end point. Drag to where the animation should finish — say, two seconds later.
5. Change the frame. Pinch outward on the preview to zoom in, drag to reposition, or use two fingers to rotate. The moment you change anything, CapCut automatically adds a second keyframe at the playhead. You don’t have to tap the diamond again.
6. Press play. Watch your clip animate smoothly from the first state to the second.
To remove a keyframe, move the playhead onto it and tap the diamond icon again (it toggles off). To adjust timing, drag keyframes along the timeline — further apart means slower motion, closer together means faster.
Your First Move: The Slow Zoom
The slow push-in is the most-used keyframe animation in existence, and now you know exactly how it’s done. Set your first keyframe at normal scale (100%). Move the playhead to the end of the clip. Pinch to zoom to about 120–130%. Play it back: the camera drifts toward your subject like a film dolly.
Use it on emotional beats — a reaction, a reveal, the drop in a song. Keep the zoom modest; pushing past 150% on phone footage starts to look soft, because you’re stretching pixels that aren’t there.
Panning Across a Still Photo
Photos don’t move, but keyframes fix that. Set a keyframe with the frame positioned on the left side of your photo, move the playhead a few seconds forward, then drag the preview so the frame sits on the right side. CapCut pans across the image — the classic Ken Burns documentary effect. Combine a slow pan with a gentle zoom and even a boring photo feels alive.
How to Use Keyframes in CapCut on PC
The desktop app works on the same principle with a slightly different layout. Select your clip, then look at the properties panel on the right — next to Scale, Position, and Rotation you’ll see small diamond icons. Click the diamond next to the property you want to animate, move the playhead, change the value, and CapCut adds the keyframe for you.
If you do most of your editing on a computer, our CapCut for PC guide walks through the desktop interface in detail. Everything in this tutorial applies there too — the buttons just live in a sidebar instead of a bottom toolbar.
5 Keyframe Animations You’ll Use Constantly
Once the basics click, these five moves cover most of what you’ll ever need:
1. The dramatic push-in. Described above — 100% to 125% over 2–3 seconds. Best on faces and product shots.
2. The pull-back reveal. The reverse: start zoomed in at 140%, end at 100%. It feels like the camera discovering the scene. Great for opening shots.
3. Pan plus zoom. Combine the pan and the push-in — start bottom-left at 110%, end top-right at 130%. Two properties animating at once looks far more expensive than it is.
4. Text slide-in. Keyframes aren’t just for video. Add a text layer, keyframe its position off-screen at the start and centered at the end, and your titles glide in. Add an opacity keyframe and they fade too.
5. The subtle rotation drift. Rotate 2–3 degrees across a clip. Barely noticeable consciously, but it adds a handheld, organic feel that static footage lacks.
How to Keep Keyframe Motion Smooth
Choppy keyframe animation almost always comes down to spacing and density:
Space keyframes for speed. Keyframes close together create fast motion; far apart creates slow motion. Want a zoom that starts slow and accelerates? Put the first two keyframes far apart and the last two close together.
Don’t over-keyframe. Beginners often drop a keyframe on every frame “to be precise.” The result is jittery, robotic motion. Fewer, well-placed keyframes almost always look smoother.
Ease into it. Real cameras don’t start and stop instantly. CapCut offers easing and curve options on animations — an ease-in-out makes moves feel natural instead of mechanical.
Match motion to music. A push-in that lands exactly on a beat hits ten times harder than one that doesn’t. If you enjoy timing motion to music, you’ll love speed ramping too — our velocity edit tutorial shows how to bend time itself to the beat.
Preview at full speed. Scrubbing frame-by-frame lies to you. Always judge smoothness by playing the clip normally.
3 Mistakes That Ruin Keyframe Animations
Animating the wrong layer. Keyframes apply to the selected clip. If your text isn’t moving, check that the text layer — not the video underneath — is selected.
Zooming too far. Past about 150% on typical phone footage, the image visibly softens. If you need a bigger move, start further out instead of pushing further in.
Forgetting keyframes exist. Ever adjusted a clip’s zoom and found it mysteriously animating later? You probably left a stray keyframe behind. Check the timeline for diamonds you didn’t mean to set.
Frequently Asked Questions
Where is the keyframe button in CapCut?
On mobile, select any clip and look for the diamond icon in the bottom toolbar. On PC, the diamonds sit next to Scale, Position, and Rotation in the right-hand properties panel.
Why is my keyframe animation choppy?
Usually too many keyframes too close together, or a low preview resolution. Spread keyframes out and preview at full quality before judging.
Can you copy keyframes in CapCut?
Keyframe data travels with the clip — copy and paste a clip and its keyframes come along. Duplicating the clip achieves the same thing.
Do keyframes work on text and stickers?
Yes. Select any text layer, sticker, or overlay and the same diamond button appears. Position, scale, rotation, and opacity can all be keyframed.
Final Thoughts
Keyframes are one of those skills where an hour of practice permanently upgrades your editing. Start with the slow zoom, get comfortable with the diamond button, and within a day you’ll be animating like it’s second nature. Pair keyframed motion with well-timed transitions and your edits will look indistinguishable from creators with ten times your experience.