How to Make a Velocity Edit in CapCut (Step-by-Step)
If you have ever watched a bike stunt, a football skill clip, or a travel reel that suddenly slows down, holds for a second, and then snaps back to full speed right on the beat, you have already seen a velocity edit. In this guide, you will learn exactly how to make velocity edit in CapCut, step by step, on both mobile and PC. No fancy plugins, no paid software, and no confusing settings. Just your clip, a good song, and CapCut’s speed tools used the right way. By the end, you will know how to control slow motion, how to use the famous mountain curve, and how to avoid the jerky, amateur look that ruins most first attempts.
What Is a Velocity Edit?
A velocity edit is a style of editing where the speed of a clip keeps changing inside the same shot. Instead of the whole video playing at one speed, parts of it slow down to 0.3x or even 0.1x, and other parts speed up to 2x, 4x, or faster. The word velocity simply means speed, so a velocity edit is really a speed edit with rhythm.
Creators love this style because it forces the viewer to feel the moment. A slow section builds tension and shows detail, like a shoe hitting a football or a dancer landing a move. Then the fast section releases that tension and pushes the video forward. When those changes land on the beats of a song, the clip feels professional, even if it was shot on a basic phone in your street or college ground.
You do not need a perfect camera for this. You need a clip with clear movement, a track with strong beats, and a little patience while you adjust the curve. Once you understand the logic, you can apply it to sports, bikes, cars, fashion walks, gaming highlights, and product videos.
Normal Speed vs Curve Speed in CapCut
Open any clip in CapCut, tap Speed, and you will see two main options: Normal and Curve. Understanding the difference between them is the foundation of this whole tutorial.
Normal speed changes the speed of the entire clip evenly. If you set it to 0.5x, the whole clip plays in slow motion. If you set it to 2x, the whole clip plays fast. It is simple and useful, but it cannot create the slow-fast-slow pattern that makes a velocity edit special.
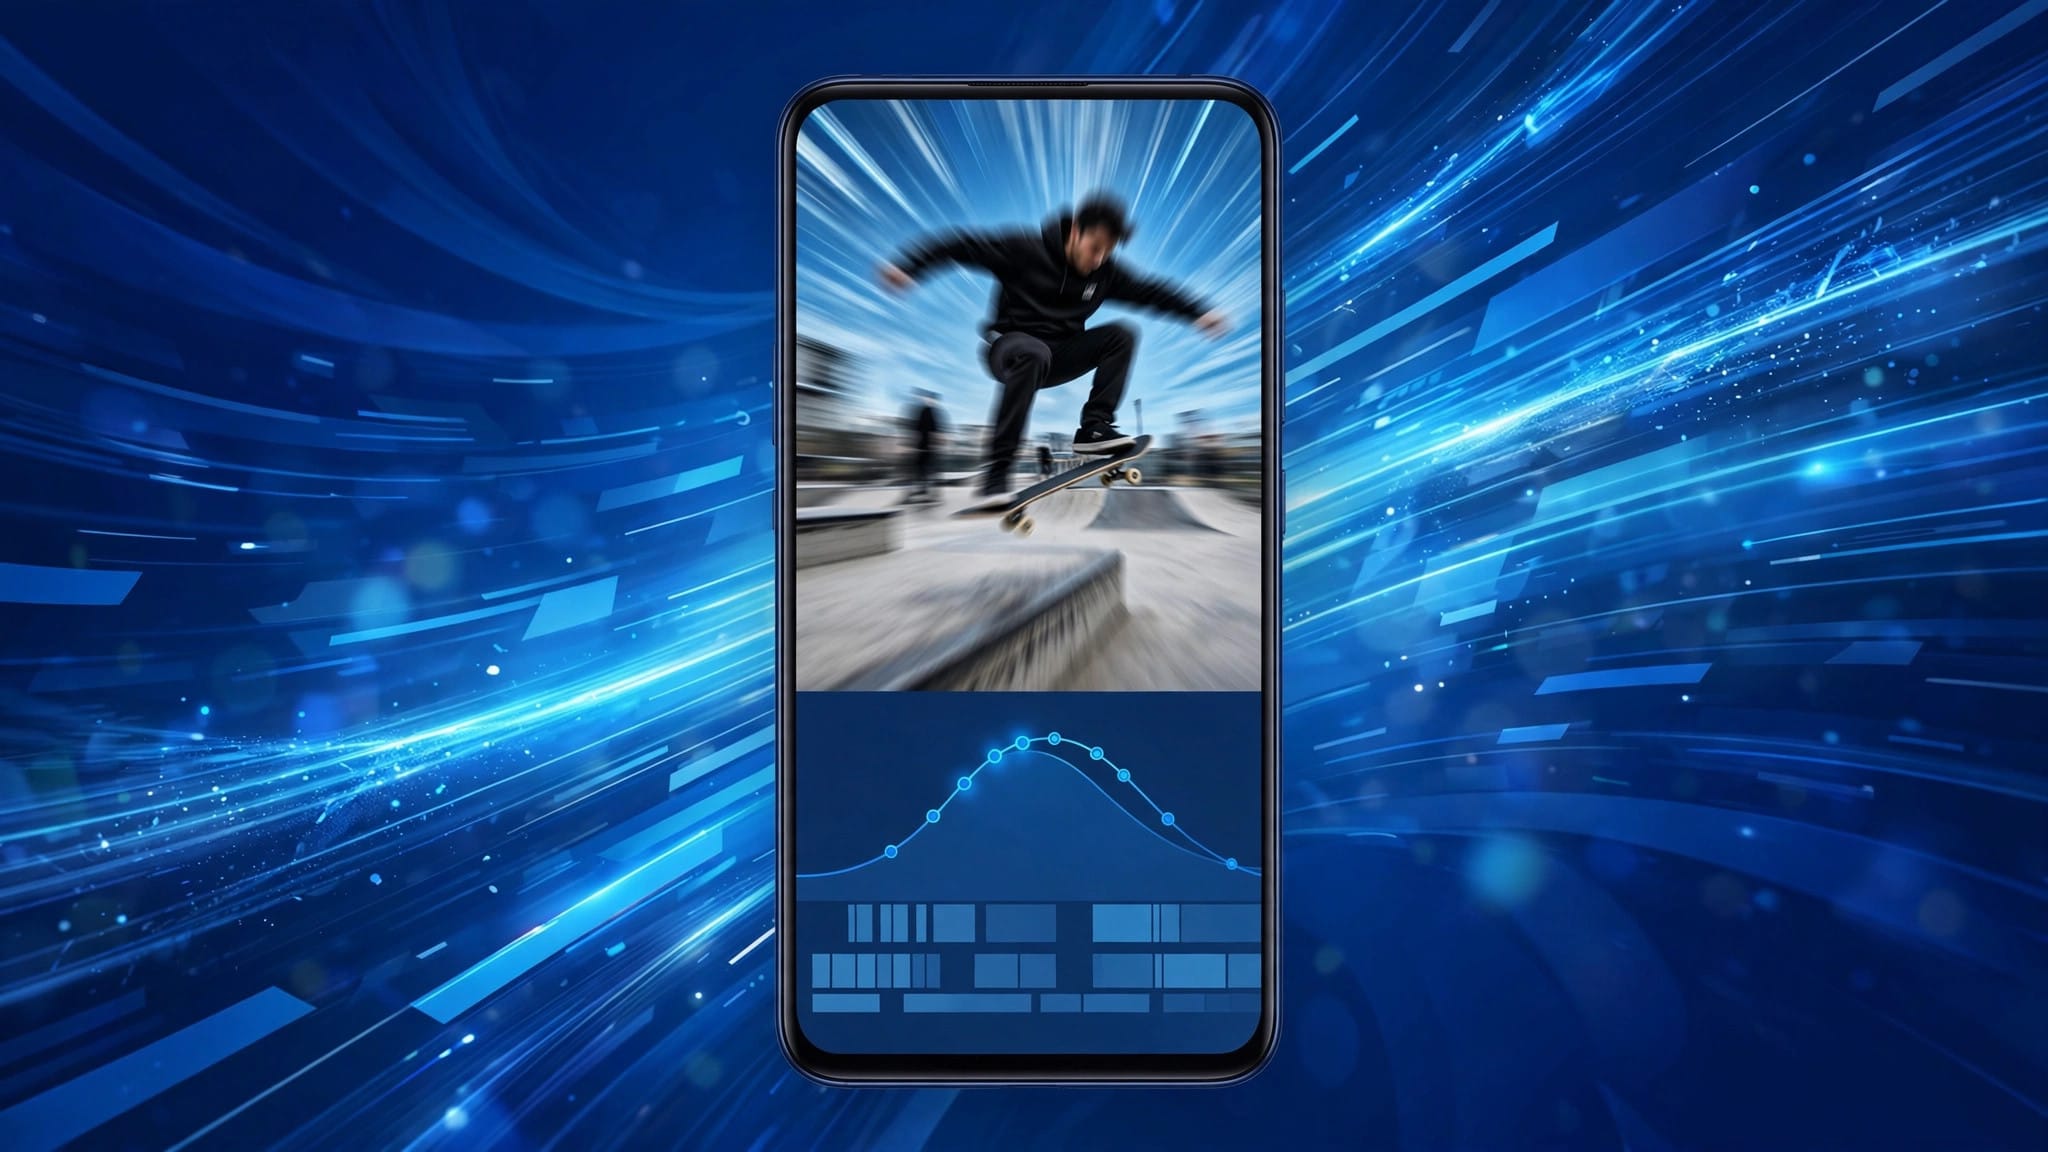
Curve speed, sometimes called speed ramping, lets the speed change gradually inside one clip. Imagine a line going up and down. When the line is high, the clip plays fast. When the line is low, the clip plays slow. You control that line with points that you can drag, add, and delete. This smooth change from slow to fast is called a ramp, and it is exactly what separates a clean velocity edit from a rough cut where the speed suddenly jumps.
Rule of thumb: use Normal for a full slow-motion clip, and use Curve whenever you want the speed to breathe inside a single shot.
The Preset Curves: Bullet, Hero, Montage and Flash
CapCut gives you ready-made curves so you do not have to build everything from zero. After choosing Curve, you will see presets. Each one creates a different mood.
- Montage: The speed goes up and down several times. It is great for travel clips and videos with many small actions in one shot.
- Hero: The clip starts fast, slows down in the middle for the hero moment, and then speeds up again. This is the most popular preset for sports and stunt clips.
- Bullet: The clip starts slow, becomes very fast in the middle, and slows again. It feels like something flying past the camera.
- Flash In and Flash Out: These quickly ramp the speed at the start or end of a clip, which is useful when you want a strong entry or exit.
- Custom: This is your blank canvas. You drag the points yourself and save your own style. Most pro editors end up using Custom after they learn the basics.
My honest advice: start with Hero for your first two or three edits. Watch how its points are placed, then switch to Custom and copy that structure. You will learn faster by studying a working curve than by dragging random points and hoping for magic. If you also want your cuts between clips to look clean, read our guide to the best CapCut transitions after finishing this tutorial.
How to Make a Velocity Edit in CapCut on Mobile: Step by Step
- Create a new project. Open CapCut, tap New Project, and import the clip you want to edit. Choose a clip with clear movement in the middle, not a static shot.
- Add your music first. Tap Audio, then Music, and pick a track with clear, strong beats. Velocity edits live and die by the beat, so do this before touching speed.
- Trim the clip. Cut away shaky starts and boring ends. Keep only the part where the main action happens.
- Open Speed settings. Select the clip on the timeline, tap Speed in the bottom toolbar, and choose Curve.
- Pick a preset or Custom. Start with Hero, preview it, then switch to Custom if you want full control.
- Drag the points. Pull a point down to slow that part of the clip and push a point up to speed it up. Place the lowest point exactly where the main action happens.
- Mark the beats. Play the music, pause on each strong beat, and use the beat marker or a simple split to remember those points. Align your speed changes with them.
- Turn on Smooth Slow-Mo if available. On supported devices, CapCut offers a smoother slow motion option that blends frames and reduces stutter.
- Preview and fine-tune. Watch the full clip three or four times. Small movements of a point, just a little left or right, can make the difference between rough and buttery.
- Export in high quality. Export at 1080p with a recommended frame rate and bit rate so the slow sections stay clean when you upload.
How to Make a Velocity Edit in CapCut on PC: Step by Step
The PC and desktop version follows the same logic, but the bigger screen makes curve work much easier and more accurate.
- Open CapCut on your computer and start a new project. Drag your video and music into the media panel, then onto the timeline.
- Select the video clip. In the top-right properties panel, open the Speed tab.
- Switch the speed mode from Normal to Curve. You will see the same presets: Montage, Hero, Bullet, Flash, and Custom.
- Choose Custom and double-click on the curve line to add points where you want the speed to change.
- Drag points down for slow motion and up for fast sections. The exact speed value shows as you drag, which helps you hit 0.3x or 0.5x precisely.
- Zoom into the timeline with your mouse wheel so you can place points exactly on the beat markers of the audio waveform. The waveform peaks are your best friend here; the biggest peaks are usually the strongest beats.
- Preview in full screen, adjust, and then export with 1080p resolution and a higher bit rate for the cleanest result.
If you regularly edit on both phone and PC, keep your method the same on both: music first, trim second, curve third, polish last. A fixed routine stops you from forgetting steps.
The Mountain Curve Trick: The Famous 0.3x Dip
Now for the technique almost every viewer asks about. Scroll velocity reels and you will see a moment where everything almost freezes, then explodes back into motion. Editors call the curve behind it the mountain, because the graph looks like a peak, or in slow sections, a deep valley.
Here is how to build it. In Custom curve, keep the start of your clip at normal 1x speed. Just before the key action, drag a point sharply down to 0.3x. Hold that low speed through the most important half-second: the kick, the jump, the turn, the smile, the product reveal. Then raise the next point quickly back to 1x, or even to 2x if you want a snap effect.
Why 0.3x? At 0.5x the effect is gentle and safe. At 0.1x it can look stuttery on 30fps footage. 0.3x is the sweet spot for most phone videos: slow enough to feel dramatic, fast enough to stay smooth. If your clip was recorded at 60fps, you can safely try 0.2x as well.
One more pro tip: make the drop into the dip gradual over a few frames, not a vertical cliff. A cliff creates a visible jolt. A steep but slanted slope gives you that expensive, smooth ramp you see in professional reels. If you want ready-made projects that already use this curve, browse our collection of CapCut templates and study how their speed points are placed.
Matching Your Cuts and Speed Changes to the Beat
A velocity edit without beat sync is just random slow motion. The music is the skeleton; your speed changes are the muscles on top of it.
Play your song and listen only for the strongest hits: the kick drum, the drop, or the clap. In CapCut mobile, you can tap Mark while the audio plays to drop beat markers, or simply split the clip at those points and adjust each section. Try to place the bottom of your 0.3x dip just before a beat, and the return to full speed exactly on the beat. That small delay creates anticipation, and the beat then feels like it launches the action.
Also, do not change speed on every single beat. That exhausts the viewer. Pick the two or three biggest moments in your clip and make those perfect. The rest of the video can stay calmer.
Common Velocity Edit Mistakes to Avoid
- Slowing down low-frame-rate footage too much. A 30fps clip at 0.1x will stutter. Record at 60fps when you plan a velocity edit.
- Too many speed changes. Five ramps in three seconds feels chaotic, not stylish. Fewer, cleaner ramps win.
- Ignoring the audio. If the dip lands away from the beat, the edit feels off even if viewers cannot explain why.
- Forgetting to trim after slowing down. Slowing a section makes the clip longer. Re-check your total length and ending after every curve change.
- Exporting in low quality. Slow motion shows every compression flaw. Always export at 1080p or higher with a solid bit rate.
- Using shaky footage. Slow motion magnifies shake. Stabilise the clip first or choose a steadier take.
Frequently Asked Questions
Is velocity edit available in free CapCut?
Yes. The Curve speed tool, including presets and Custom curves, is available in the free version of CapCut on mobile and PC. Some advanced smooth slow-mo features may vary by device, but the core velocity workflow in this guide is free.
What is the best speed for the slow part of a velocity edit?
For most phone footage, 0.3x is the best starting point. It looks dramatic but stays smooth. If you recorded at 60fps, you can experiment with 0.2x for an even stronger effect.
Why does my velocity edit look jerky?
Jerky results usually come from low frame rate footage, points placed too close together, or a curve that drops like a cliff instead of a slope. Record at 60fps, spread your points out, and make the transitions gradual.
Can I make a velocity edit without music?
You can, but it is much harder to make it feel right. Music gives you beats to sync with. If your video has natural sounds, like a ball hitting or an engine revving, use those sounds as your rhythm instead.
Which is better for velocity edits, mobile or PC?
Both can produce the same final quality. PC is easier for precise curve work because of the bigger timeline, while mobile is faster for quick social media edits. Learn the logic once and it transfers to both.
Conclusion
Learning how to make a velocity edit in CapCut is really about one skill: controlling the curve. Start with the Hero preset, learn the 0.3x mountain dip, sync your slowest point to the beat, and keep your ramps smooth and few. Make two or three practice edits this week, even with simple clips from your gallery, and the movement of the points will quickly become natural. Once it clicks, you will start hearing songs and imagining the dips and snaps automatically, and that is when your edits start looking truly professional.