How to Add Auto Captions in CapCut (Mobile, PC & Web)
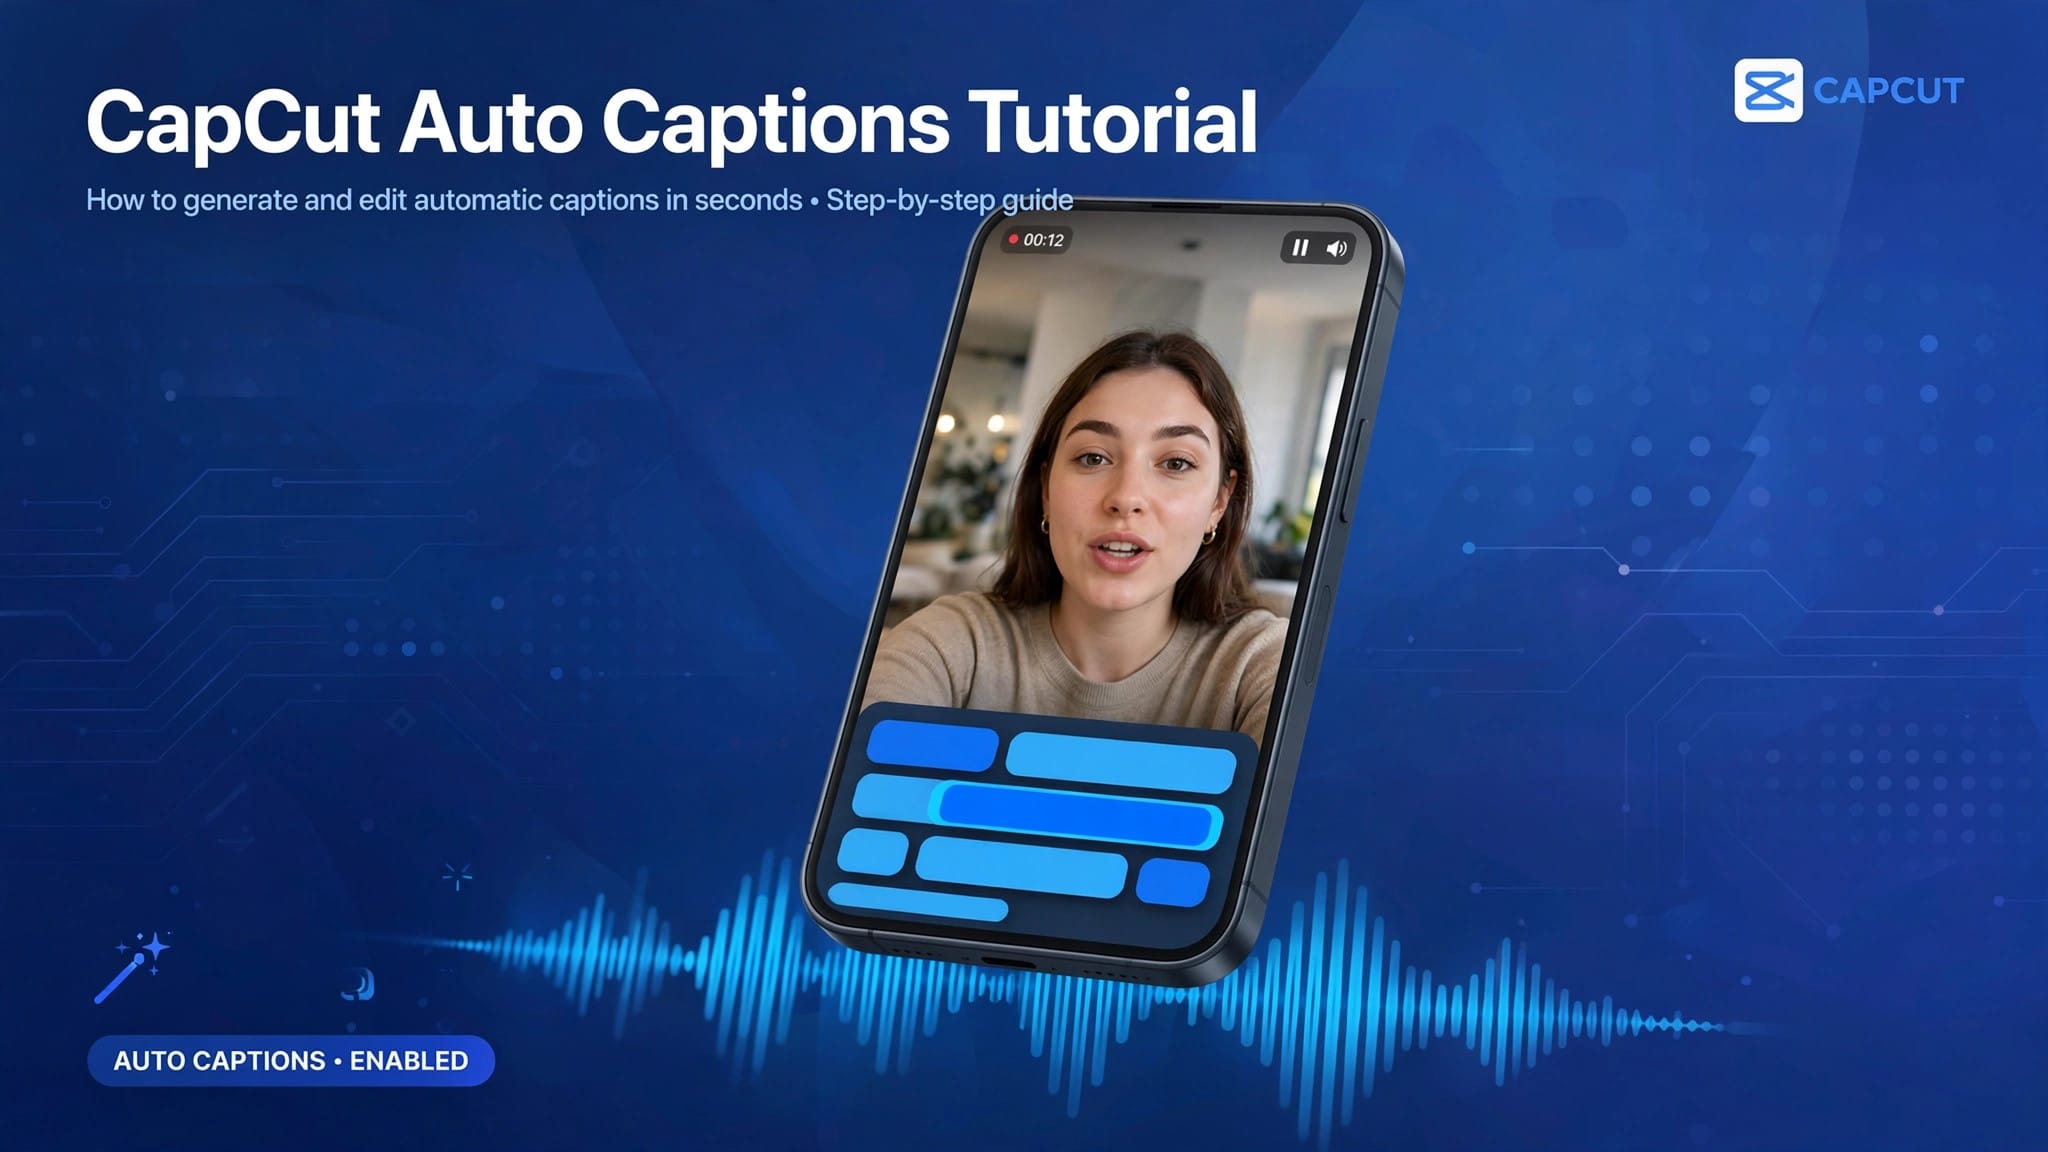
Most social video is watched with the sound off — on mute in bed, on a train, in a lecture hall. Captions are the difference between a viewer who stays and one who scrolls past in half a second. They’re also an accessibility essential. The good news: learning how to add auto captions in CapCut takes about two minutes, because CapCut transcribes your speech and turns it into styled, timed captions almost entirely on its own.
This guide covers auto captions on mobile, PC, and web, how to style them like the creators you watch, and what to do when the feature misbehaves.
How to Add Auto Captions in CapCut on Mobile
1. Open your project and make sure the clip with speech is on the timeline.
2. Tap “Text” in the bottom toolbar, then tap “Auto captions.”
3. Choose your audio source — usually “Original sound” — and pick the spoken language. Getting the language right matters more than you’d think; the wrong language produces confident gibberish.
4. Tap “Generate.” CapCut processes the audio and returns captioned segments, usually in under a minute for short clips.
5. Review the result. CapCut drops the captions onto the timeline as an editable text layer. Play through once and fix any misheard words by tapping a segment and editing the text directly.
How to Add Auto Captions in CapCut on PC
Desktop works nearly identically: select the Text tab, click Auto captions, confirm the language, and hit Generate. The transcription runs the same engine, and you get the same editable caption track. If you’re still getting oriented on desktop, our CapCut for PC guide covers the layout.
One desktop advantage: with a bigger screen it’s much faster to scan a long transcript and fix errors, so for talking-head videos over a few minutes, the PC route saves real time.
How to Add Auto Captions in CapCut Web
Prefer editing in a browser? Open the CapCut web editor, load your project, and find Text → Auto captions in the side panel. The flow — source, language, generate — mirrors mobile. Web generation can be a touch slower on long videos since everything round-trips through the browser, but for clips under a few minutes it’s perfectly fine.
Styling Your Captions Like a Creator
Raw auto captions work, but styled captions get watched. Here’s what to tweak:
Pick a caption template. CapCut ships animated caption styles — the word-by-word “karaoke” highlight is the current default aesthetic for short-form video. One tap applies it to every segment.
Dial in readability. Bold sans-serif fonts, a thick stroke or a solid background pill, high contrast against your footage. If viewers can’t read it in half a second, it’s decoration, not captions.
Mind the safe zone. Keep captions in the lower third but above the platform UI — TikTok and Reels cover the bottom of the screen with buttons and descriptions. Preview on a phone before exporting.
Size for the smallest screen. Most of your audience watches on a phone held a foot from their face. Bigger than feels necessary is usually right.
Fixing Transcription Mistakes
Auto transcription is good, not perfect. Proper nouns, slang, and brand names are where it stumbles. Tap any caption segment to edit its text directly. For long videos, do one dedicated proofreading pass at 1.5x speed — you’ll catch the vast majority of errors in a single run. You can also split a long segment into two, or merge short ones, so the pacing matches natural speech pauses.
Auto Captions Not Working? Try These 5 Fixes
1. Update CapCut. The caption engine is server-side and the app side changes often; an outdated app is the most common reason the button does nothing.
2. Check the language setting. If your audio is in Spanish but the generator is set to English, you’ll get nothing usable. Match them exactly.
3. Fix the audio first. Auto captions need intelligible speech. If background music drowns out the voice, transcription fails or hallucinates. Lower the music track before generating.
4. Confirm there’s actually speech. CapCut won’t generate captions from a music-only clip — it needs detectable spoken words. Beat drops and montages need manual text instead.
5. Clear the glitch. Force-close the app, clear its cache, or reinstall. On web, try a different browser. One of these clears it almost every time.
Pro Tips for Captions That Keep People Watching
Fewer words per screen. One punchy phrase per caption card beats a wall of text. Aim for one to five words visible at a time in short-form content.
Keep one style. Pick a font, color, and animation and use it across all your videos. Consistent captions become part of your brand — viewers recognize your videos before they even read them.
Don’t cover faces. Position captions below the chin line. It sounds obvious until you watch your export and realize every punchline lands on someone’s forehead.
Burn them in for social. For TikTok, Reels, and Shorts, export with captions baked into the video. Platform auto-captions are inconsistent; yours are part of the edit.
Frequently Asked Questions
Are CapCut auto captions free?
Yes. Transcription and basic caption styling are free on mobile, PC, and web. Some premium animated templates sit behind CapCut Pro, but the core feature costs nothing.
Which languages does it support?
Dozens, including English, Spanish, Hindi, Portuguese, Indonesian, and Arabic. Accuracy is best in major languages — always proofread regardless.
Can I export captions as an SRT file?
On PC you can export subtitle files for use elsewhere; on mobile the captions are designed to be burned into the export.
Final Thoughts
Captions are the highest-ROI two minutes in editing: a few taps for measurably better retention. Generate them, style them once, proofread at speed, and never post a talking video without them again.