CapCut Overlay Tutorial: Picture-in-Picture and Video Overlays
What Is the CapCut Overlay?
An overlay is any video, image, or graphic layered on top of your main clip: picture-in-picture reaction boxes, logos and watermarks, memes pasted over scenes, B-roll cutaways, subtitles burned in as graphics. If your main timeline is the stage, the CapCut overlay is everything standing on it. It’s the difference between a flat single clip and a rich, professional-looking video.
This tutorial covers every overlay type — picture-in-picture, video overlays, image overlays — on mobile and PC, plus the blend modes and masking tricks that make overlays look intentional instead of slapped on.
How to Add an Overlay — The Basics
On mobile: select your main clip on the timeline → tap Overlay (in the toolbar) → Add overlay → pick a video or photo. It lands on a track above your main clip. Drag its edges to set duration, pinch/drag in the preview to size and position it.
On PC: same idea — select clip → Overlay panel → add media. The mouse makes precise positioning dramatically easier.
The golden rule: every overlay needs a reason — it shows something the main clip can’t. Random overlays are visual noise; purposeful overlays are production value.
Picture-in-Picture (The Reaction Video Setup)
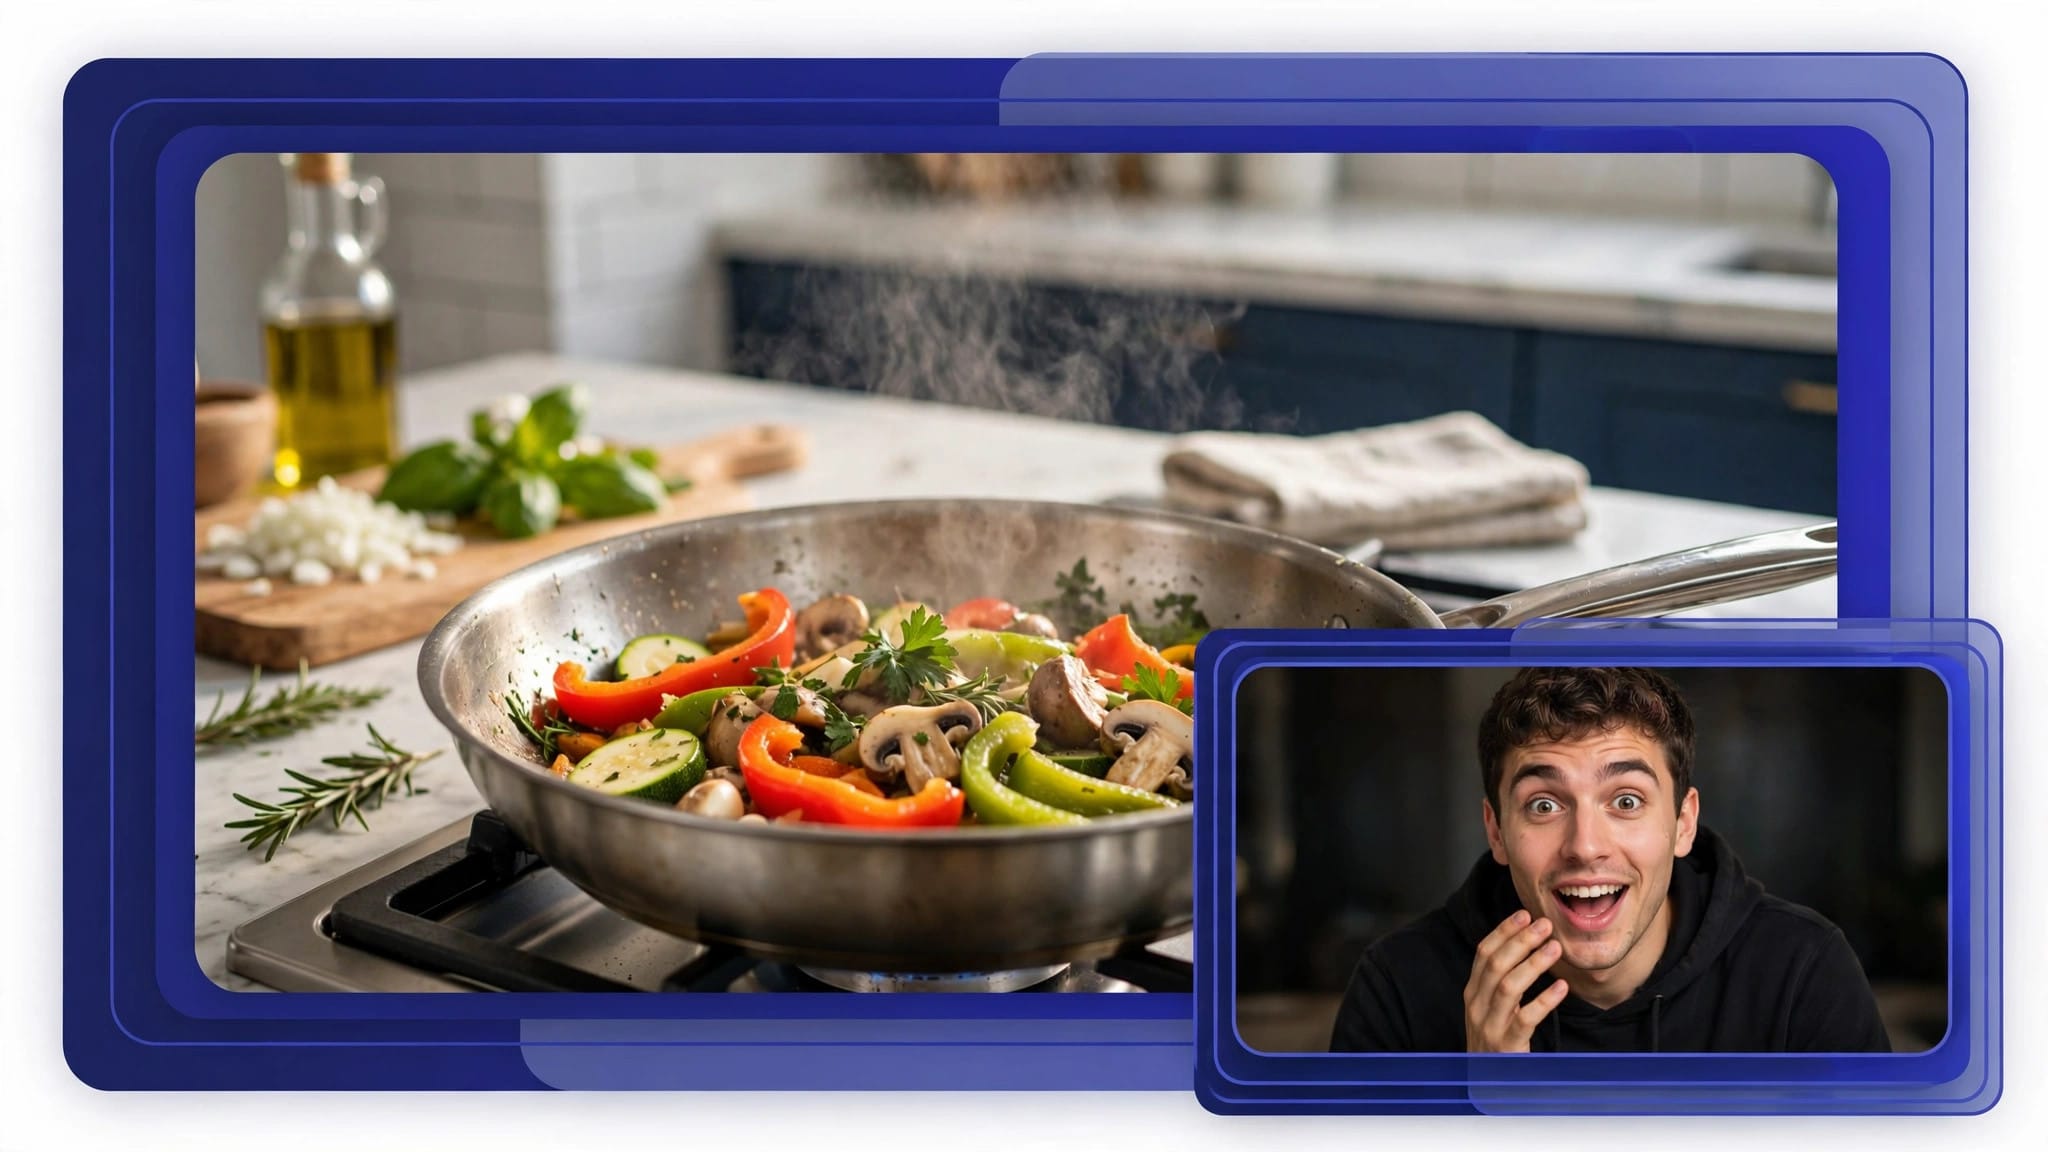
The classic: you talking in a corner while gameplay, a video, or a tutorial plays full-screen behind you.
Step 1: Main clip on the timeline (the gameplay/video). Step 2: Overlay → Add overlay → your face-cam recording. Step 3: Pinch it down to a corner — bottom-right is the convention (bottom-left works if the action is right-heavy). Step 4: Round the corners (Overlay → Mask → rounded rectangle) and add a subtle border for the pro streamer look. Step 5: Keep yourself small — 15–20% of screen max. You’re the commentary, not the content.
Audio: lower your overlay clip’s volume if it has background noise, or mute it and record a clean voiceover instead.
Video Overlays — B-Roll and Cutaways
B-roll overlays are what separate amateur talking-head videos from engaging ones: while you talk, relevant footage plays in a box or full-screen.
The pattern: you talk (main track) → at each key point, overlay B-roll full-screen for 2–4 seconds → back to you. CapCut makes this fast: Overlay → add clip → drag to full-screen size → trim to the moment.
Pro move — the J-cut: start the B-roll’s audio a half-second before its video appears. The viewer hears the context shift before seeing it — silky, professional, invisible when done right.
Image and Logo Overlays
Logos/watermarks: Overlay → add your PNG logo → shrink to a corner → lower Opacity to 70–80% so it’s present but not shouting → extend across the whole video (drag the overlay’s duration to match).
Memes and graphics: same process, but time them to punchlines — a meme that appears exactly on the joke lands; one that lingers kills it. In fast, out fast.
Text-as-graphic: for styled titles, design in any graphics app, export PNG with transparency, overlay it. Crisper than CapCut’s text tool for fancy typography.
Blend Modes — Overlays That Melt In
Select an overlay → Blend (may be under Adjust/Effects depending on version): Screen (drops blacks — perfect for light leaks and glows), Multiply (drops whites — shadows and textures), Overlay/Soft Light (contrast-rich compositing), Darken/Lighten (takes the darker/lighter of each pixel — great for sky replacements). Blend modes turn a “video on top of video” into a single fused image. Experiment — the preview is instant.
Masking Overlays
Mask (select overlay → Mask): Circle/rounded for PiP polish, Linear for wipe reveals, Mirror for symmetrical effects. Feather the mask edge (10–30px) — hard mask edges scream amateur; feathered edges whisper professional. Combine mask + keyframes to animate the reveal: mask wipes across as the overlay scales up.
Advanced Overlay: Green Screen (Chroma Key)
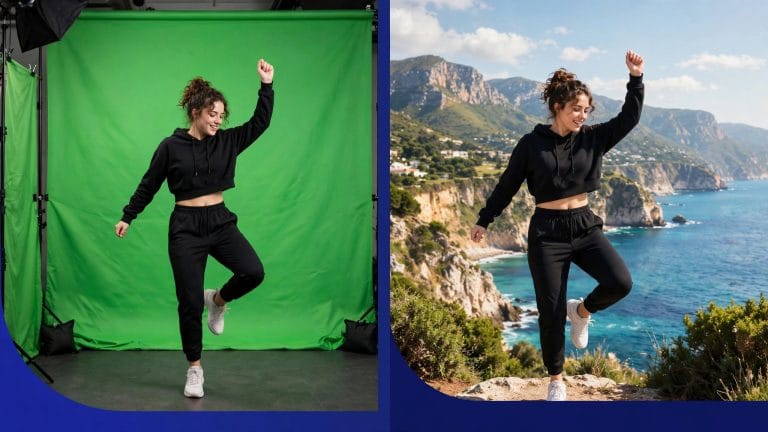
The ultimate overlay: film yourself against a green background, then key it out. Select overlay clip → Chroma key (sometimes under Cutout) → pick the green color → adjust Intensity until the background vanishes cleanly. Shooting tips: even lighting on the green screen (shadows kill keys), keep distance from the background (avoids green spill on your edges), and avoid wearing green. Done right, you can stand inside any footage — gameplay, travel B-roll, memes. Done wrong, you get crunchy halo edges; bump the Shadow/edge cleanup slider until they disappear.
Overlay Audio: The Forgotten Half
Everyone obsesses over overlay visuals and ignores overlay audio — mistake. Ducking: when your overlay has important audio (a clip’s dialogue), lower the main track under it — select main audio → keyframe volume down during the overlay. Layering: ambient overlay audio (crowd noise, nature sounds) at 10–20% under your voiceover adds massive production value. Syncing: a B-roll overlay lands harder when its audio starts slightly before its video (the J-cut from earlier). Mute ruthlessly: if an overlay’s audio adds nothing, kill it — silence is cleaner than noise.
Overlay Mistakes That Scream Beginner
Too big. Overlays covering 40%+ of the screen fight the main content. Shrink it. Too many. Three overlays at once is a cluttered collage, not a video — one at a time, sequenced. No border/shadow. A floating rectangle with no edge treatment looks pasted; a 2px border or soft shadow grounds it. Static PiP. A totally static face-cam box gets boring fast — add a very subtle slow zoom keyframe to keep it alive. Ignoring safe zones. Keep overlays clear of platform UI — the like, comment, and share buttons live on the right edge of TikTok and Reels.
Overlay Ideas by Content Type
Gaming: face-cam PiP + kill-feed graphics + subscriber alerts. Tutorials: B-roll cutaways + zoomed detail insets + arrow annotations. Reactions: your face PiP + the content full-screen + meme overlays on punchlines. Vlogs: map/location graphics + photo insets + text labels. Business: logo bug + lower-third name cards + chart/graph overlays.
FAQs
How do I add picture-in-picture in CapCut?
Select main clip → Overlay → Add overlay → choose your second video → resize and drag to a corner. That’s PiP.
How many overlays can I add?
As many as your device handles — but one or two at a time is the practical aesthetic limit. Stacked tracks multiply render load; older phones chug past 3–4 video overlays.
Why is my overlay covering the whole screen?
It defaults to full-size. Pinch it down in the preview immediately after adding — every overlay starts full-screen until you shrink it.
Can I animate an overlay?
Yes — keyframes work on overlays exactly like main clips: position, scale, rotation, opacity. Our keyframes tutorial applies directly.
How do I make an overlay transparent?
Lower Opacity (select overlay → Opacity slider), or use Blend modes for true compositing. For logos, use PNGs with transparent backgrounds.
Do overlays work on CapCut PC?
Yes — same Overlay panel, easier precision with a mouse. See our desktop vs mobile guide for the full comparison.
Conclusion
The CapCut overlay turns one flat video into layered, professional content: PiP for reactions, B-roll overlays for talking heads, logos for branding, blend modes and masks for polish. Remember the rules — purposeful, small, feathered, sequenced — and your overlays will look designed instead of decorated. Start with one overlay in your next video: a simple PiP or a single well-timed B-roll cutaway. Master that, then add the blend modes and masks. Layer by layer, that’s how flat videos become rich ones. Now go layer something.