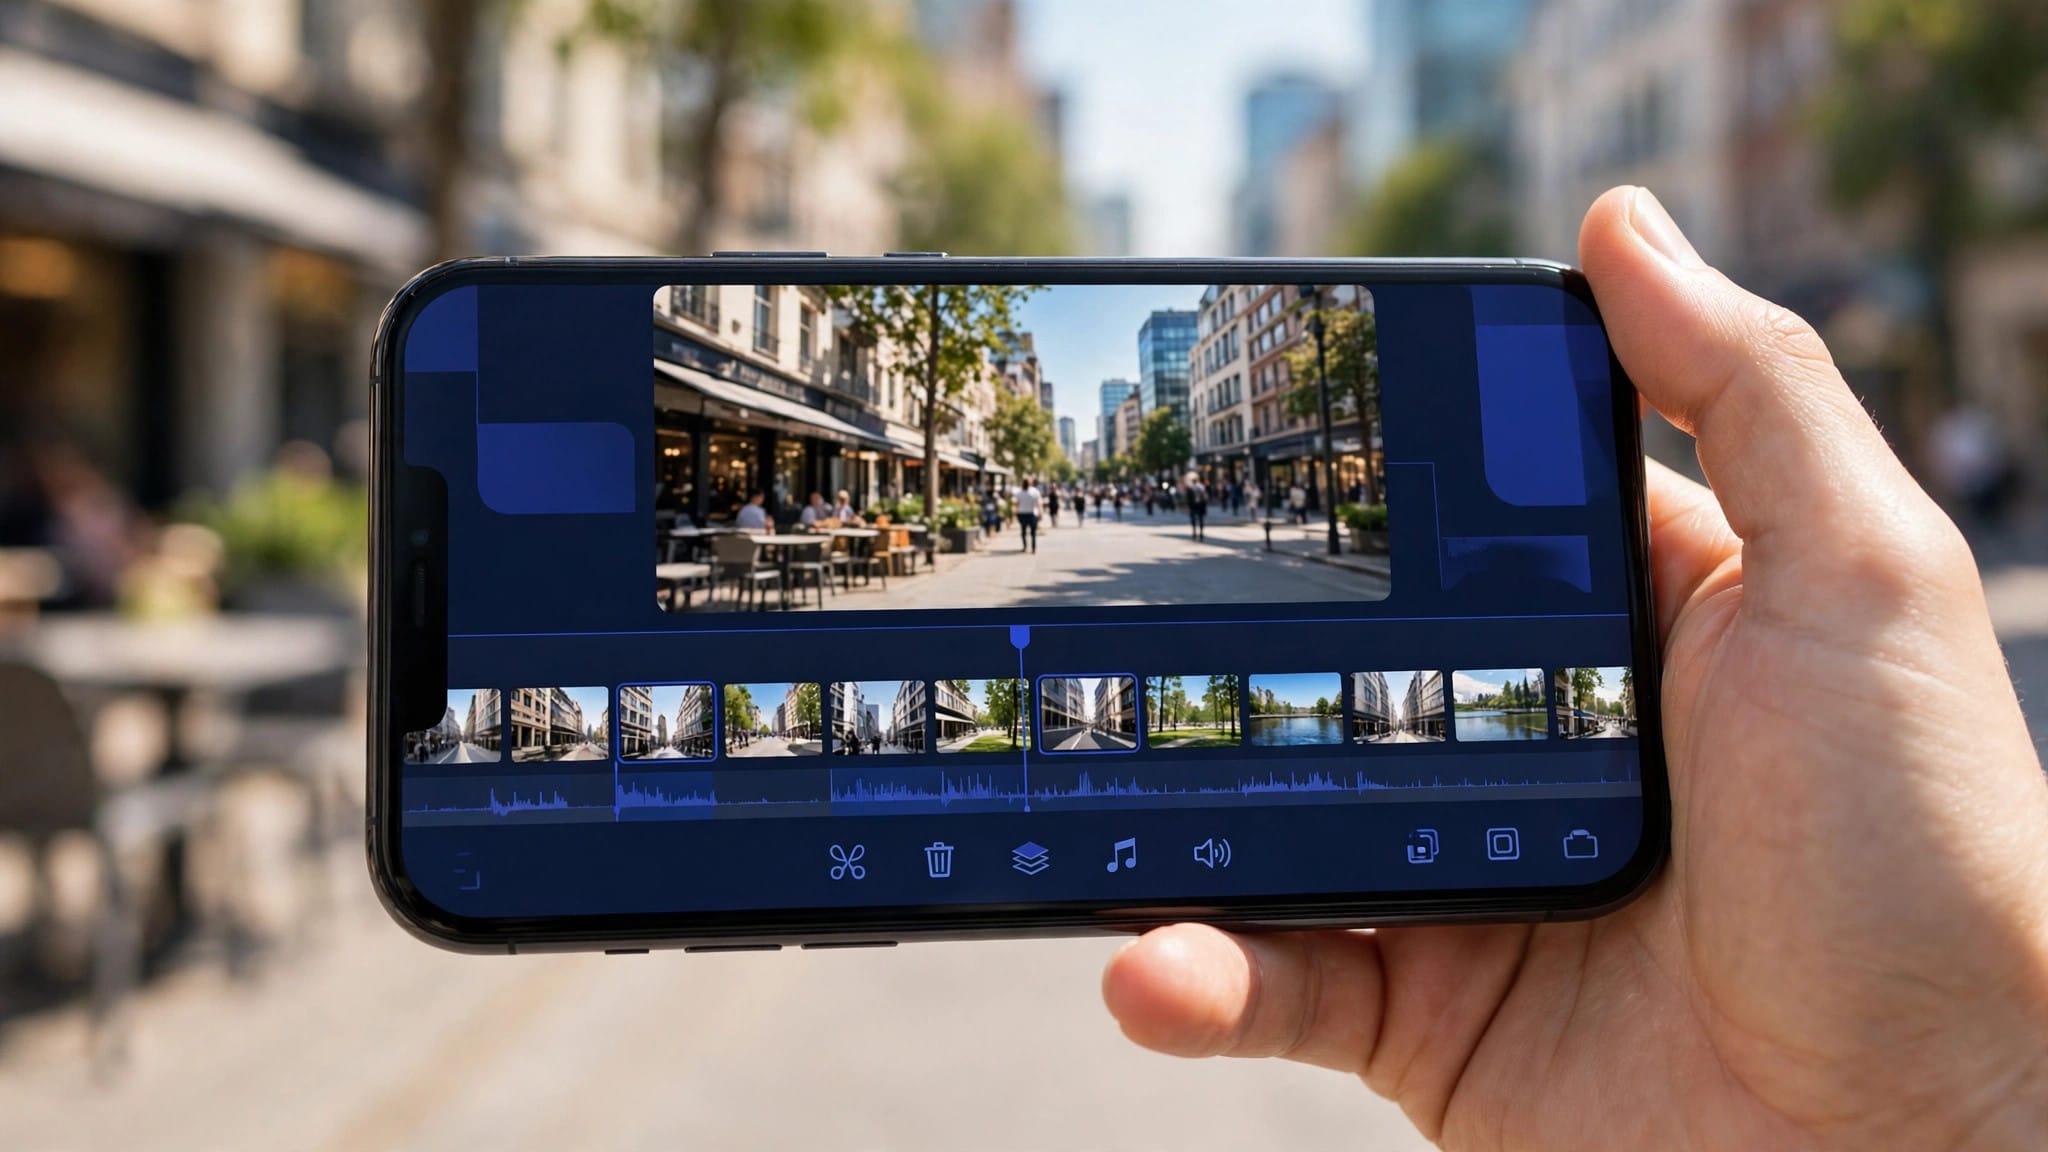
How to Use CapCut on iPhone: Complete Editing Guide
Your iPhone Is a Complete Editing Studio
The iPhone in your pocket shoots 4K Dolby Vision and runs the best mobile editor on earth — which means how to use CapCut on iPhone is really the question of how to turn a phone into a studio. This complete guide walks through everything iPhone-specific: setup, the core editing workflow, iPhone-only tricks, and the gotchas (storage, battery, formats) that bite iOS editors.
Setting Up CapCut on iPhone
Step 1: Download CapCut free from the App Store. Step 2: Open it, sign in (Apple, Google, TikTok, or email) — use the same account everywhere for cloud sync. Step 3: Grant Photos access (Full Access — “Selected Photos” will haunt you later when clips go missing) and Camera/Microphone if you’ll record in-app. Step 4: In CapCut settings, set default export to 1080p/30 — change per project as needed.
Storage warning: video editing devours iPhone storage. Before any serious project, check Settings → General → iPhone Storage. Keep 5–10 GB free minimum; CapCut’s cache alone can balloon past 2 GB on big projects (clear it in CapCut’s settings periodically).
The Core iPhone Workflow
Import: New project → select clips. Pro move: shoot in the Camera app (not in CapCut) at 4K 60fps — you get Apple’s full processing, then edit freely. In Camera settings, enable HDR Video off for social content (HDR looks washed out on non-HDR screens — most viewers’).
Trim: tap clip → drag handles; Split at the playhead for precise cuts. iPhone’s haptic touch makes frame-stepping feel great — drag slowly on the timeline ruler.
Text: Text → Add text. iPhone advantage: the system font picker and your installed fonts carry over, so your brand fonts work natively.
Audio: Audio → Music, or Extract audio from any video. iPhone tip: record voiceovers with the Voiceover tool in a quiet room — the iPhone mic is shockingly good; closets make great booths.
Effects and transitions: same library as Android. Our transitions guide and velocity tutorial are fully iPhone-compatible.
Captions: Text → Auto captions → pick language. iPhone’s on-device processing makes this fast. Edit the generated text — it gets names wrong.
Export: top-right arrow → 1080p or 4K → Export → saves to Photos. Our export settings guide covers the quality trade-offs.
Best iPhone Camera Settings for CapCut Editing
Set these once and forget them: Settings → Camera → Formats → High Efficiency (HEVC — half the file size, same quality; CapCut handles it natively). Record Video → 4K at 60fps for maximum flexibility (you can slow it down and export 1080p sharper than native 1080p). HDR Video → OFF for social content (SDR grades predictably everywhere). Grid → ON (composition), Mirror Front Camera → ON (selfies look like the preview, not flipped). These four settings eliminate 90% of “why does my footage look weird in CapCut” questions.
iPhone-Specific Tricks
Cinematic mode footage: CapCut handles iPhone Cinematic mode clips — you can even adjust the focus points after import. Gorgeous for product and portrait content.
ProRAW/ProRes: CapCut imports them, but they’re storage monsters. For social content, regular 4K HEVC is plenty — save ProRes for client work.
AirDrop workflow: shooting on iPhone, editing on Mac? AirDrop the clips full-quality in seconds — no cables, no compression. (Full Mac guide: CapCut for Mac.)
Shortcuts automation: iOS Shortcuts can auto-save CapCut exports to specific albums or trigger uploads. Nerdy, wonderful.
Live Photos: import as stills — CapCut grabs the key frame. Or convert to video first (long-press → Save as Video) for the motion.
iPhone Gotchas to Know
Battery: 4K timeline editing drains fast. Edit plugged in for long sessions; Low Power Mode throttles preview smoothness.
Overheating: summer + 4K + direct sun = thermal throttling. Your preview gets choppy and exports slow. Shade and patience.
iCloud Photos “optimizing”: if your clips show as blurry placeholders, iCloud hasn’t downloaded originals. In Photos, wait for downloads to finish before importing (or disable Optimize Storage entirely before big projects).
HDR export confusion: exporting HDR from an HDR timeline then posting to Instagram often looks washed out. For social, edit and export in SDR unless you know your audience watches in HDR.
The watermark question: CapCut’s free iPhone exports can include outro watermarks on templates — remove in template settings, or use the modded version (Android) for watermark-free everything.
iPhone vs Android CapCut — Any Difference?
Functionally identical for 95% of editing. Differences that matter: iPhone gets some effects slightly earlier (ByteDance often ships iOS first), Android has the mod APK scene (no iOS equivalent — Apple’s walled garden), and iPhone’s hardware consistency means fewer weird device-specific bugs. If you’re choosing a phone for CapCut: iPhones are the smoother bet, Pixels/Samsungs the more flexible one.
Three iPhone-Only Projects to Try This Week
Project 1 — the 15-second day recap: 5 clips from your day, beat-synced to a trending sound, one text overlay with the date. Shoot vertical 4K60, edit on the couch, post before bed. This is the daily-driver iPhone edit.
Project 2 — the talking-head explainer: film yourself (front camera, window light), auto-caption it, add B-roll overlays on each key point, export 1080p. The entire creator-economy starter kit, done on a phone.
Project 3 — the cinematic 60: golden hour, Cinematic mode on, slow deliberate pans, one velocity ramp on the best moment, film-grain filter, no text at all. Prove to yourself the phone is enough — then watch it outperform your “serious” edits. These three projects teach shooting, pacing, captions, overlays, and grading — the complete iPhone curriculum in one week of evenings.
FAQs
Is CapCut free on iPhone?
Yes — free on the App Store with optional CapCut Pro for premium effects.
Why is CapCut laggy on my iPhone?
Usually storage (nearly full), old iOS, or 4K timeline on an older chip. Free up storage, update iOS, and drop preview quality.
How do I get 4K exports on iPhone?
Export settings → Resolution → 4K. Needs 4K source footage to matter — upscaling 1080p to 4K just makes bigger files.
Can I use CapCut templates on iPhone?
Yes — iPhone is the best platform for templates; the ecosystem is iOS-first.
Does CapCut work on older iPhones?
iPhone 11 and newer run it well. Older models (X, 8) can run it but expect lag on 4K timelines — stick to 1080p.
How do I remove the CapCut watermark on iPhone?
Template outros: disable in the template’s export settings. For the full watermark-free experience across everything, that’s a Pro feature — Android users have the mod option.
Should I shoot in the CapCut camera or the iPhone Camera app?
The iPhone Camera app, always. You get Apple’s full image processing, all resolutions and frame rates, and Cinematic mode — then import into CapCut for editing. In-app cameras are convenience tools, not quality tools.
How much storage does CapCut need on iPhone?
The app itself is ~500 MB, but give it plenty of room: cache, projects, and exported videos add up fast. 5–10 GB free is the comfort zone; 20 GB+ if you regularly edit 4K projects.
Conclusion
Using CapCut on iPhone is the gold-standard mobile editing experience: download free, grant Photos access, shoot 4K 60 in SDR for social, mind your storage very closely, and learn the core loop from our beginner tutorial. The phone in your pocket is genuinely all the studio most creators will ever need.